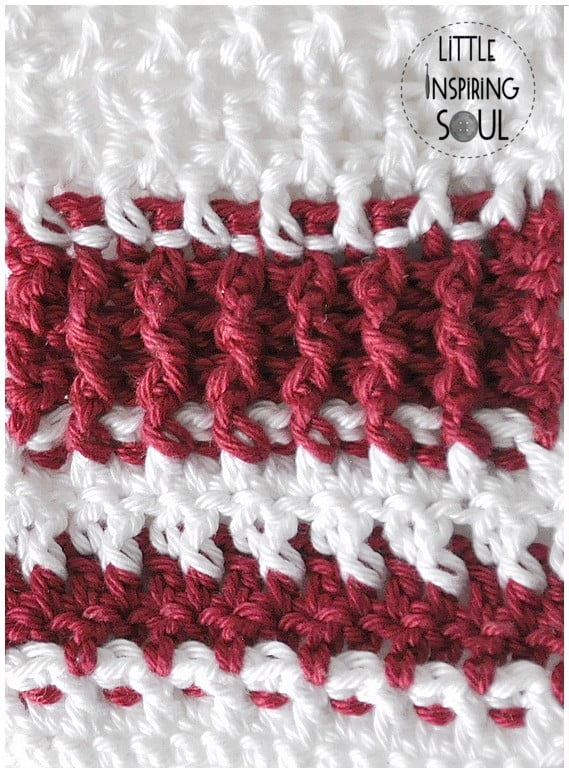
bride en relief avant et arrière: tuto au crochet
Front post double crochet - back post double crochet stitches
Les brides en relief, que ce soit avant ou arrière, apportent à votre ouvrage un aspect texturé, très agréable au toucher mais également au visuel.
Même si cette technique semble complexe en apparence, elle est réalisable avec un peu d’entraînement.
C’est très joli visuellement et vous pouvez réaliser un pose plat par exemple ou pourquoi pas des maniques?


Si vous maîtrisez la bride traditionnelle au crochet, vous réaliserez facilement de jolis reliefs en un rien temps.
Front (back) post double crochet is a method for creating an amazing textured stitches on your projects and gives a character to your design. They are not difficult to crochet.
You’re abble to crochet the traditional « double crochet stitch »? You’re abble to crochet these textured stitches. Just read the tutorial and practice 🙂
La particularité de ces brides est qu’elles ne se travaillent pas en passant le crochet dans les 2 brins des brides du rang précédent, mais en le passant au niveau de la tige de la bride du rg précédent.
Front (back) post double crochet stitch are worked around the double crochet st of the previous row and not by inserting the hook in the loops.
Bride en relief avant - FPdc

Bride en relief arrière - BPdc

BRIDE EN RELIEF AVANT - TUTO EN IMAGES
Front post double crochet - step by step tutorial

Pour réaliser une bride en relief, on va donc passer notre crochet en « enroulant la tige » des brides du rang précédent:
On fait donc un jeté, on passe le crochet par en dessous de la tige de la bride (1), on attrape le fil (1) et on le fait passer derrière la tige (2). On fait un deuxième jeté (3).
Yarn over (yo), insert your hook BELOW the double crochet (or stitch) of the previous row (round) and grab the yarn (1). Draw it behind the dc you’re working around (2). Yo (3)

On passe le fil dans les 2 premières boucles qui sont sur le crochet (4), on refait un jeté (5), et on passe le fil dans les 2 dernière boucles qui se trouvent sur le crochet(5). Votre bride en relief avant est terminée !!!
Pull it through the 2 strands on your crochet hook (4). Yarn over again (5) and pull it through the 2 remaining strands 6). You did it !!!
BRIDE EN RELIEF ARRIERE- TUTO EN IMAGES
Back post double crochet - step by step tutorial

On fait donc un jeté, on passe le crochet non plus par en dessous mais par DESSUS la tige de la bride (1). – On se retrouve sur l’envers de l’ouvrage- on attrape le fil (2) et on le fait passer derrière la tige (3).
Yarn over (yo), insert your hook from the FRONT of the double crochet (or stitch) of the previous row (round) and grab the yarn (2). Draw it around the dc you’re working around (3).

On fait un deuxième jeté, on passe le fil dans les 2 premières boucles qui sont sur le crochet (4), on refait un jeté (5), et on passe le fil dans les 2 dernière boucles qui se trouvent sur le crochet (6). Votre bride en relief arrière est terminée !!!
Yo and pull it through the 2 strands on your crochet hook (4). Yarn over again (5) and pull it through the 2 remaining strands (6). You did it !!!
